
Search the blog:

What size cargo trailer camper should I build?
Considering what size cargo trailer camper to build? Explore pros and cons of the most commonly available sizes on the market.

DIY solar setup or all-in-one power station: Choosing your cargo trailer's power system
Explore the top two ways to power your build: wire a system yourself for full control, or run everything through one plug-and-play unit and skip the wiring.

Cargo trailer camper builders: Who they are and what they cost
Yes, companies build custom cargo trailer campers for you. Prices run $35,000–$135,000 all-in. Here's who does it, what they charge, and what DIY costs.

Top four roof vent fans for cargo trailer campers
The four roof vent fans we keep coming back to for cargo trailer camper builds. Find out which one fits your build, budget, and storage clearance.
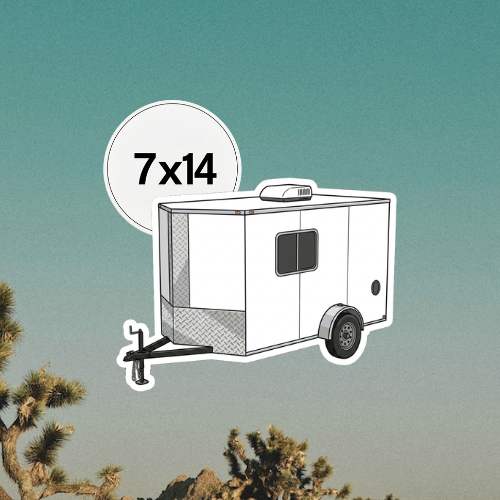
The 7x14 cargo trailer camper build guide
Ready to build out your 7x14 cargo trailer camper? Ninety-eight square feet gives you room for a full bed, a real kitchen, a bathroom with a shower, dedicated storage, and still enough room to stand in the middle.
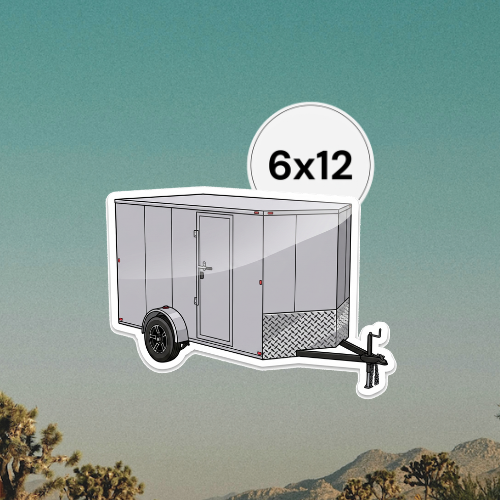
The 6x12 cargo trailer camper build guide
This guide is written specifically for 6x12 cargo trailer camper builds, with suggestions for this unique footprint, with layouts and tradeoffs.
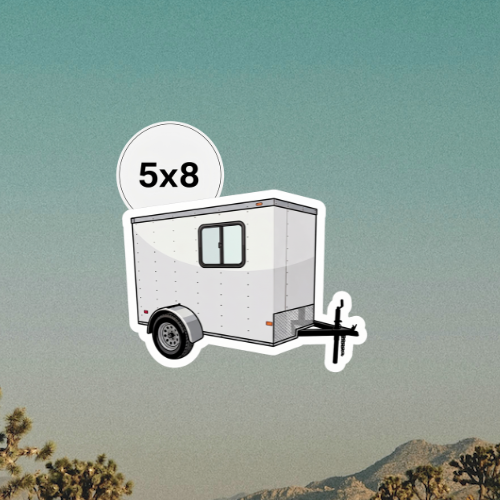
The 5x8 Cargo Trailer Camper Build Guide: Every Part That Actually Fits
Planning a 5×8 cargo trailer camper build? Forty square feet sounds impossible until you see a well-planned build…and then it clicks.

The Cargo Trailer Camper Setup Checklist: Every Part You’ll Actually Use
We've pulled from dozens of cargo trailer camper build guides, reader submissions, and years of community feedback to put together a room-by-room breakdown.

The Best Cargo Trailer Camper Door Locks for Passenger Entry
Whether you're looking for a simple keyed deadbolt, a keyless entry system, or a heavy-duty cam bar lock, there's a solution for every build and every budget. Here are the best cargo trailer camper door locks worth adding to your conversion.

The Best Composting Toilets for Cargo Trailer Campers
Composting toilets eliminate the need for a black tank, reduce water usage, and make off-grid camping significantly easier. But choosing the right one depends on your space, budget, and how you plan to use your camper.

Cargo Trailer Camping for Adventure Sports: Mountain Biking, Hiking, and More
This post covers how to configure a cargo trailer camper specifically for adventure sports: how to transport and store bikes, where gear storage actually belongs, how to get the trailer level on uneven forest roads, and what camp setup is best to come home to after a long day outdoors.
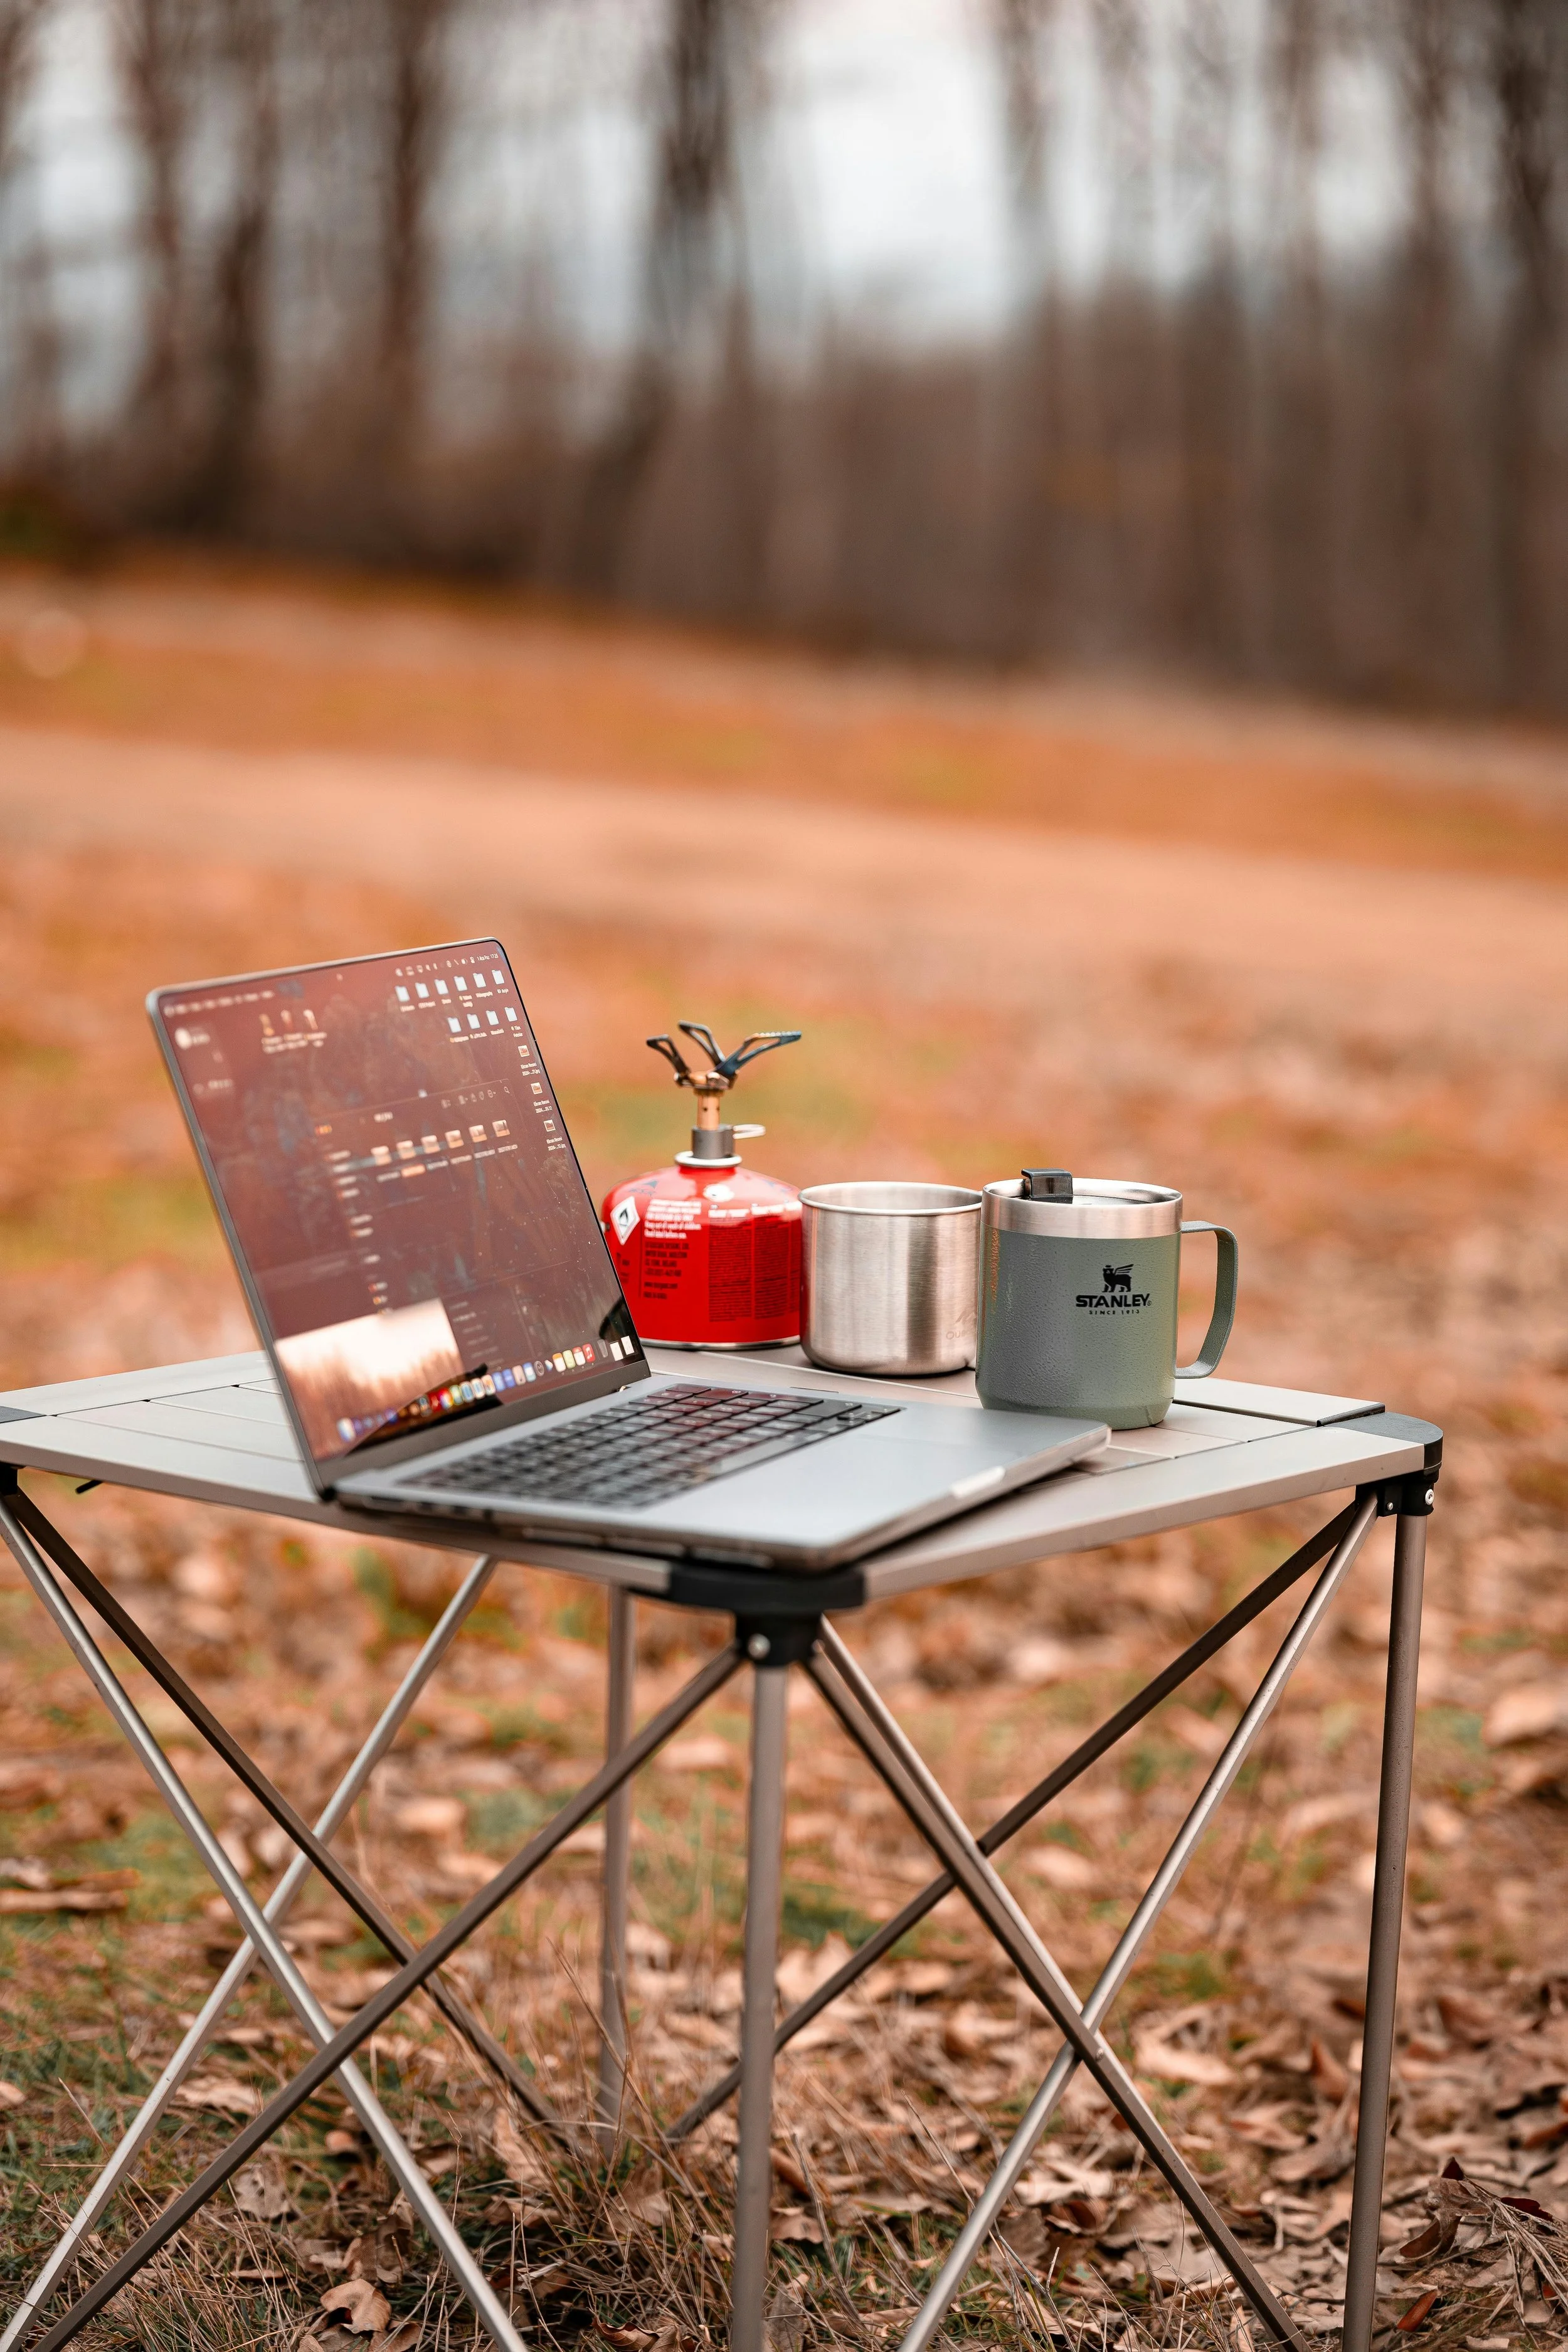
Remote Work in Your Cargo Trailer Camper: Setup Guide
Taking your job on the road? Here's how to set up a cargo trailer camper for remote work (that actually works).

The Best States To Camp in a Cargo Trailer Camper
Here’s a practical breakdown of which states offer the right combination of public land access, campsite variety, climate manageability, and driving conditions for a cargo trailer camping.

The solo traveler’s guide to cargo trailer camper conversions
This guide covers how to think through a solo cargo trailer camper conversion build, which gear holds up in real-world one-person use, and where people typically go wrong the first time.
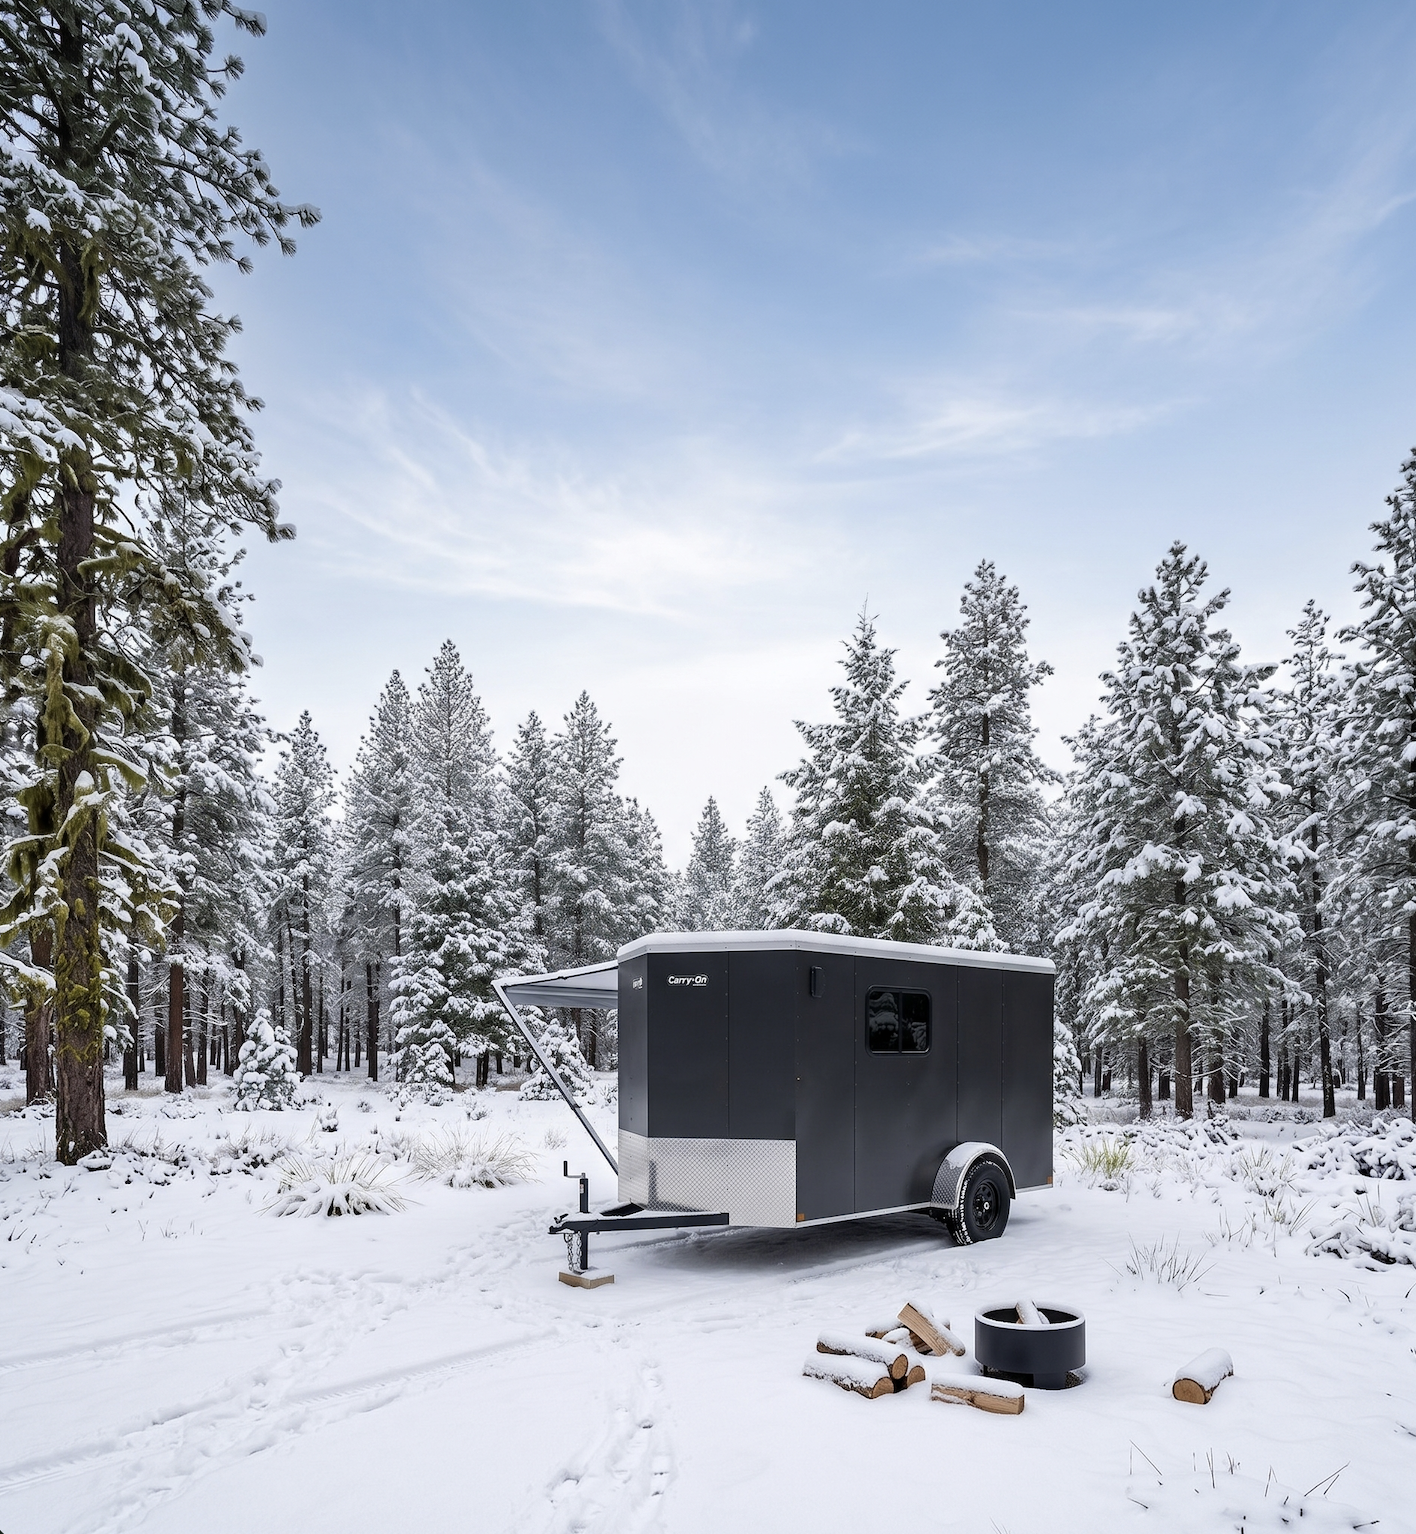
Heating Your Cargo Trailer Camper Conversion
Cargo trailers present a specific set of cold-weather challenges. This guide covers everything from the best propane heaters to insulation decisions to the small details, like mattress choice and draft management, that most people overlook until they're already cold.

How to Keep Your Cargo Trailer Camper Cool in the Heat
Keeping a cargo trailer camper cool is very doable. It takes a combination of smart parking habits, good airflow, and the right gear. Some of these fixes cost nothing. Others are worth the investment.
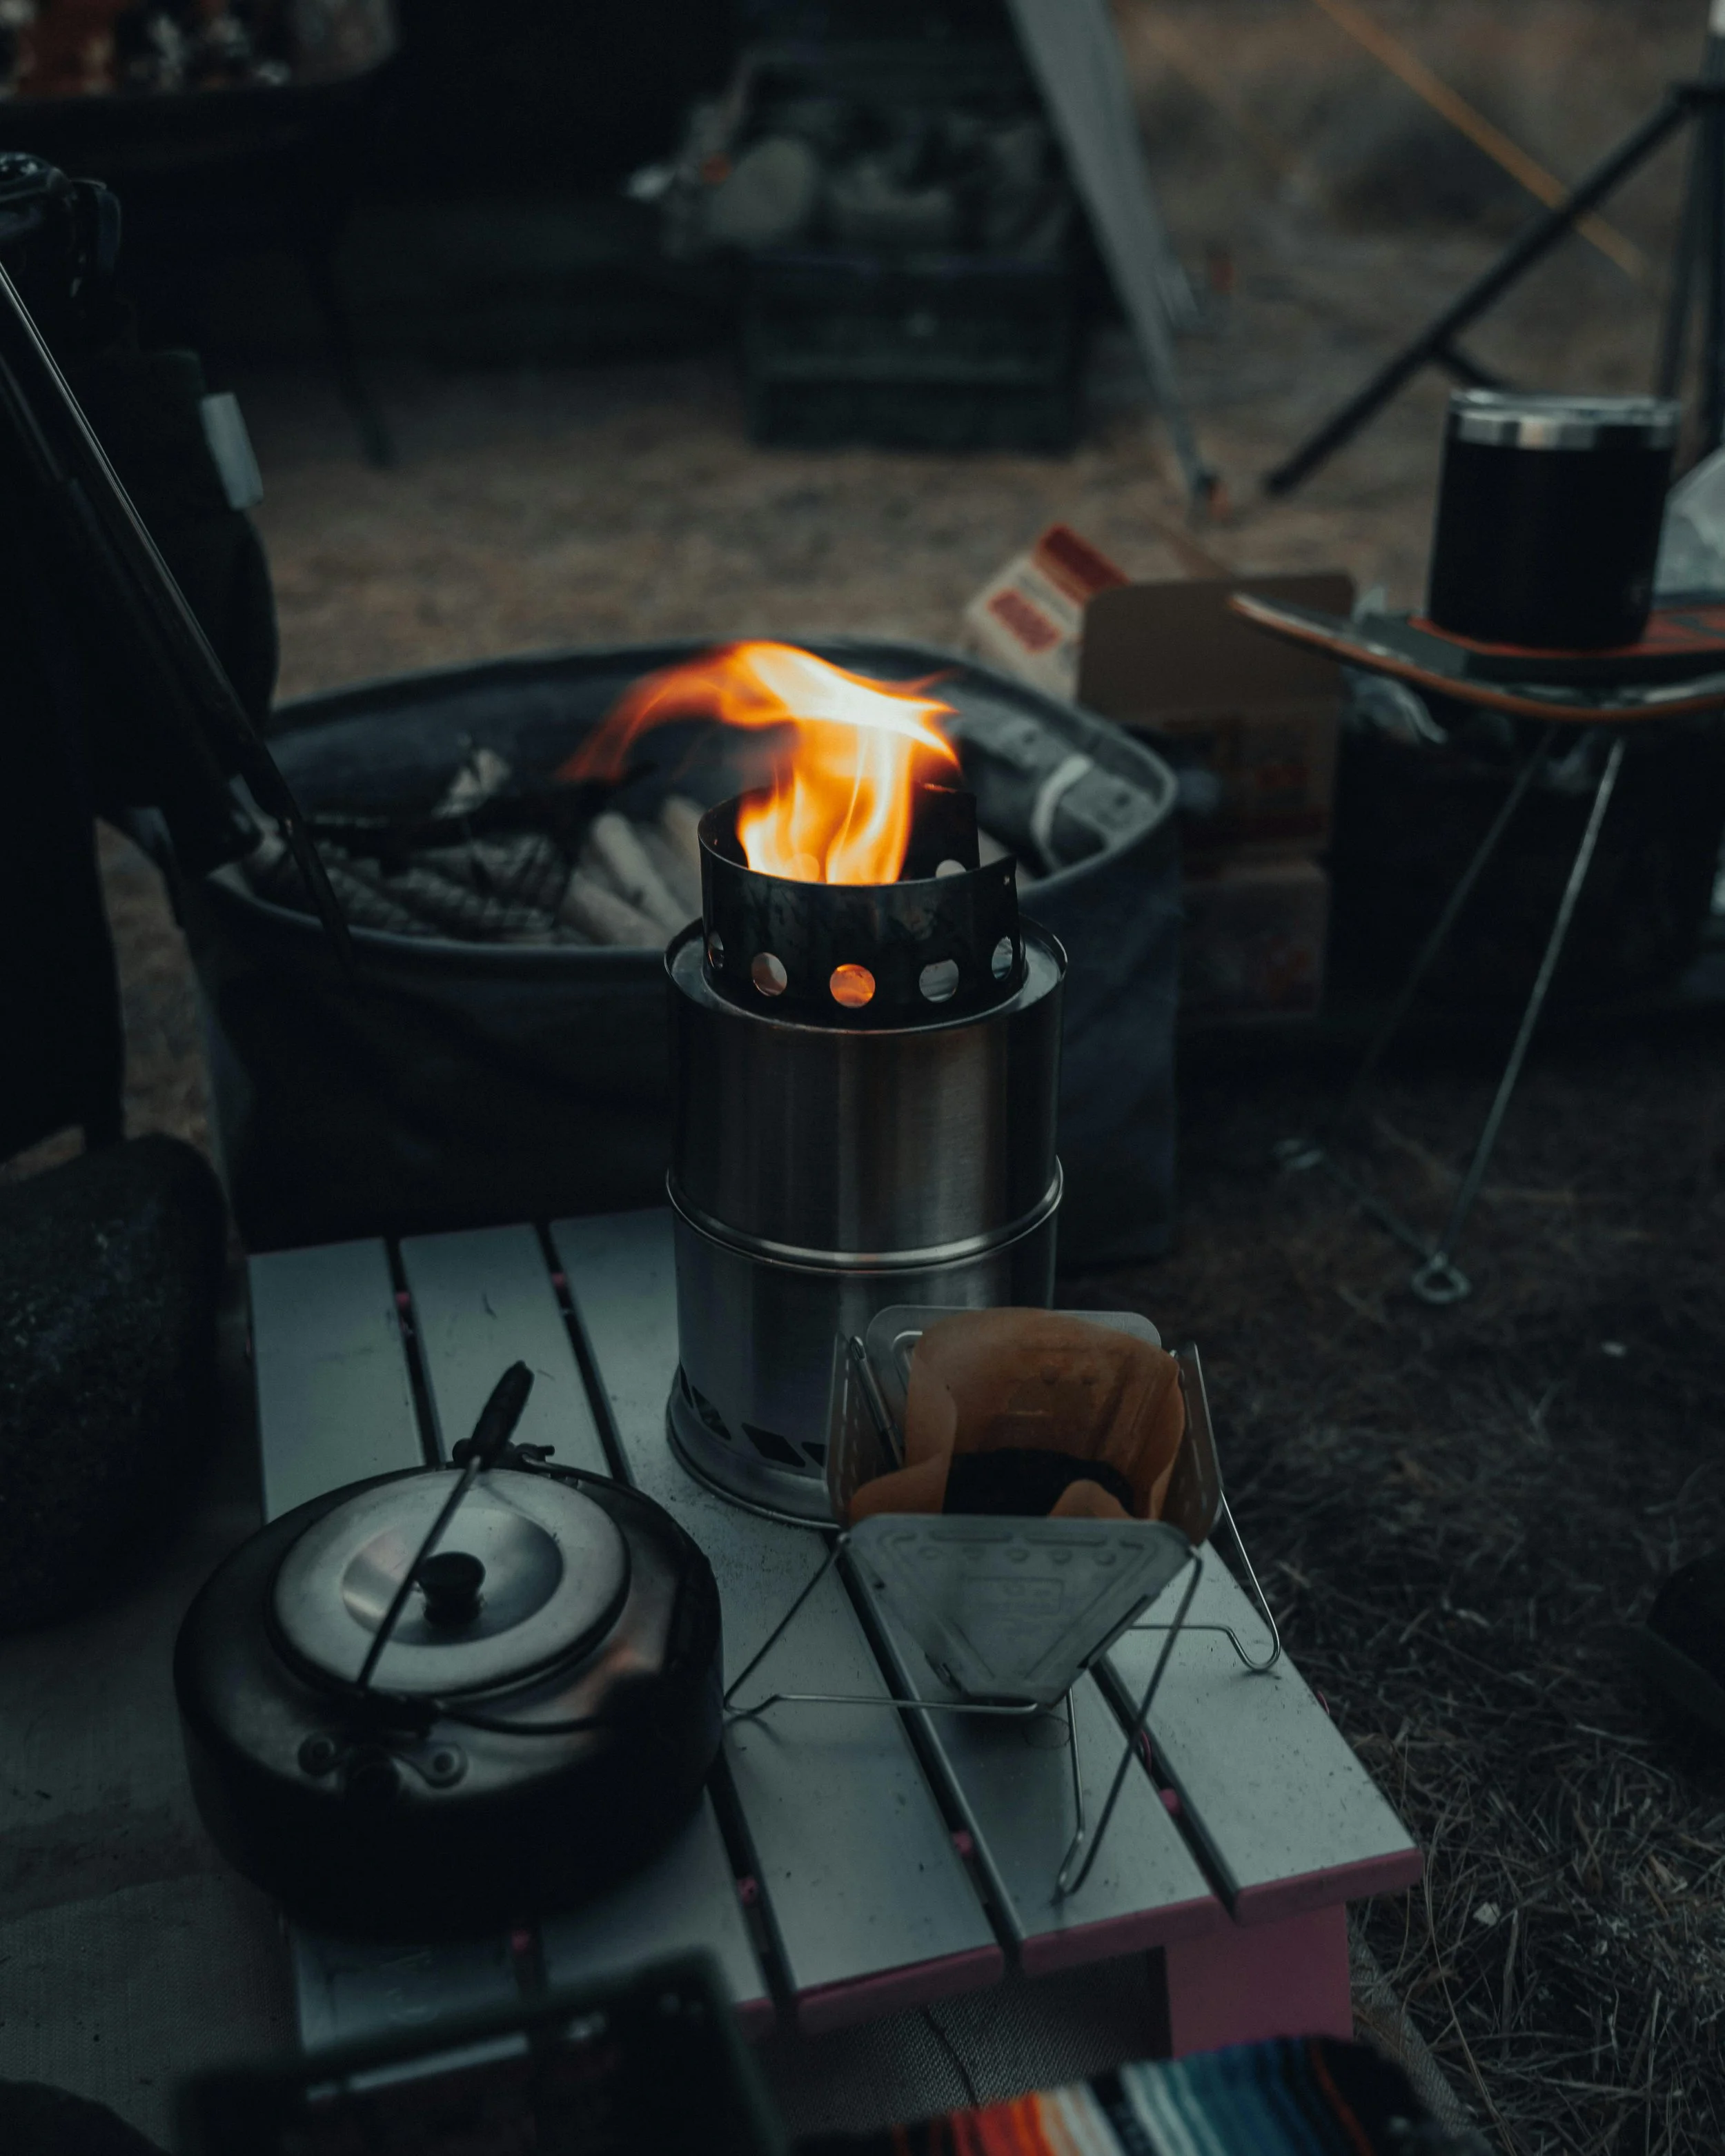
Kitchen Setup Tips for Your Cargo Trailer Camper Conversion
This guide covers every major appliance category, what works in real-world use, and how to pick the right gear for your cargo trailer camper conversion.

Best Cargo Trailer Camper Gear for Families (That Actually Gets Used)
The right gear makes all the difference when cargo trailer camping with kids. Here’s our round up of the top items to put on your packing list.
The Best Trailer Hitch Locks for Cargo Trailer Camper Conversions
The coupler is the metal fitting at the front of your trailer's tongue that clamps down over the ball on your tow vehicle's hitch. It's also the most common point of attack for trailer theft.
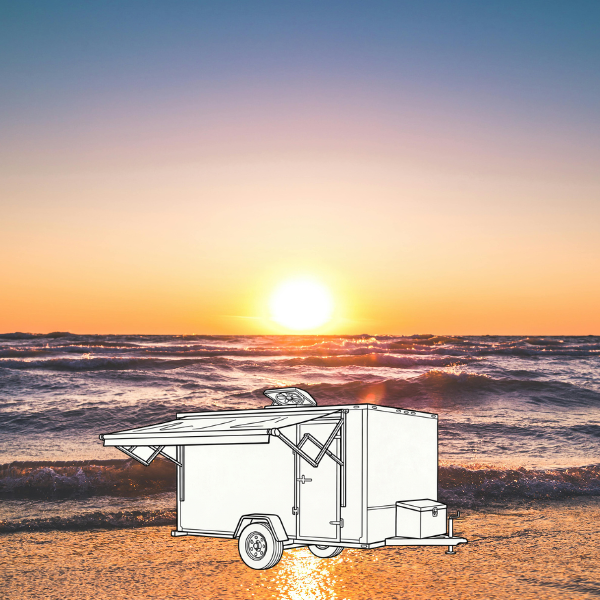
Awning inspiration for your cargo trailer camper conversion
Adding an awning to your cargo trailer camper is one of the simplest upgrades that delivers the biggest impact. Whether you’re boondocking in the desert, camping in a rainy mountain town, or setting up at a lakeside campground, the right awning instantly expands your living space and increases comfort.